Server Licensing
First-time license activation
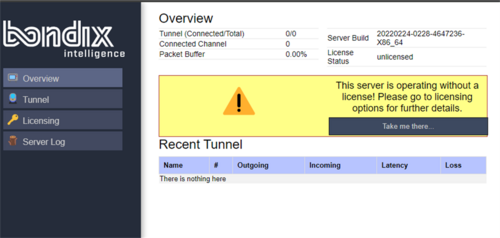
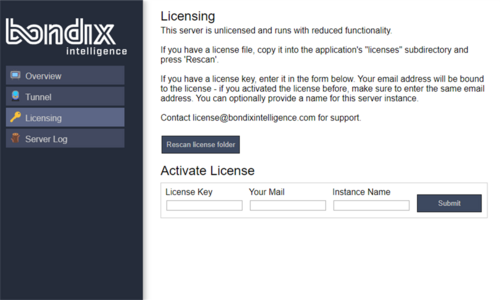
If you need to license your first Bondix Server, you need to activate the S.A.NE Server Tunnel license under the menu item “Licensing”.
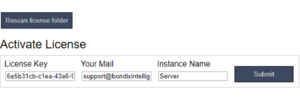
Enter the S.A.NE license key here, as well as a valid email address to which the license key is bound. You can also enter a name for the server instance here. Then press “Submit”.
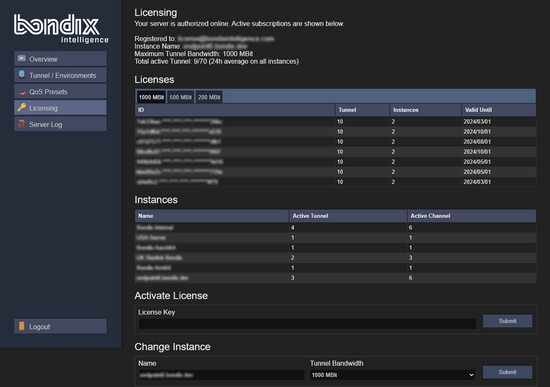
After the successful activation, the Licensing overview will display the number of licensed tunnels as well as the expiry date of your active tunnel subscriptions with the respective expiry date and the maximum number of active server instances possible under this license number.
Changing licenses
Adding more tunnel licenses
You can add further additional tunnel/server instances at any time under the item “Activate License”. Just enter the license code and click "Submit".
Changing Server Throughput profiles (Instances)
With Bondix, an instance is a Bondix server installation. This server installation shows all active tunnels with the number of instances they can be installed on and the date they expire. An instance can be adjusted to serve only ONE(!) type of throughput / tunnel bandwidth. So, if you have 3 different types of license, e.g. 20 Mbps, 100 Mbps and 200 Mbps, you need 3 different instances - which is no problem as any Bondix license allows you to license at least two different instances for one active tunnel. However, it is vital that you register all Bondix server instances you want to manage to ONE email address, otherwise you won't be able to change instances.
If you want to change an instance and thus the licenses bound to it to a new type of tunnel bandwidth, make sure that you are logged in with the correct email address, scroll down to "Change Instance", enter the name of the instance, and choose the desired tunnel bandwidth. You will only see option that are within the maximum throughput for the licenses you purchased. Then, click "Submit".


